

Bitwarden is a budget-friendly password manager that’s built on open-source software and zero-knowledge encryption.
In this article, we walk you through how to set up Bitwarden, how to use it, and how you can maximize its features for your organization.
1. Decide on a Bitwarden subscription
First, you’ll need to decide which Bitwarden subscription is right for you. Bitwarden offers two subscription tiers: Personal and Business.

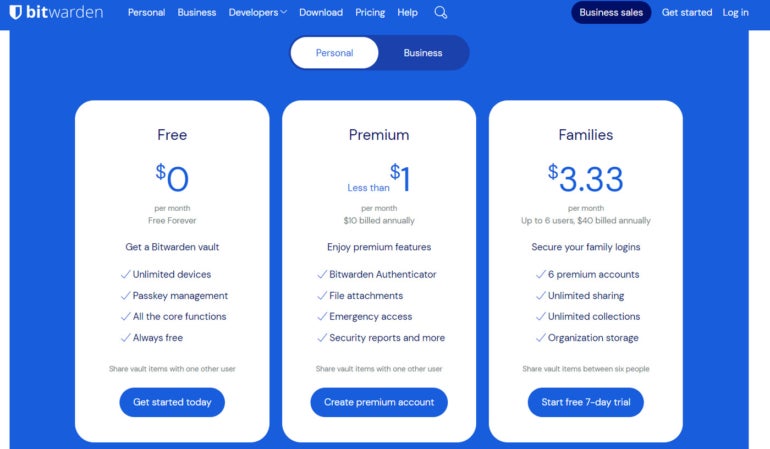
For Personal, there are Free, Premium, and Families subscription options available. Free and Premium accounts allow for sharing vault items with two users, while the Families plan allows up to six. The Business tier has a Teams starter plan for up to 10 users and an Enterprise plan that allows for unlimited users. For more information on Bitwarden’s pricing, you can view our full Bitwarden review here.
To start, I would suggest going for Bitwarden’s Free version first. It gives you a taste of Bitwarden’s take on password management without cost. It also offers storage for an unlimited number of passwords and can be used on unlimited devices.
2. Set up the Bitwarden app and browser extension
Now that we’ve decided on a plan, it’s time to set up a Bitwarden account. Clicking on the Free tier within Bitwarden’s plans page will take you to its account creation portal.

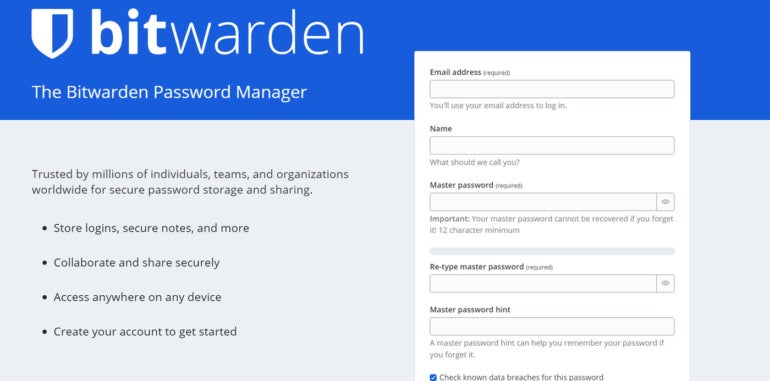
Fill in the required details and type in your master password. This master password will serve as your main key to unlocking all the passwords and credentials in your vault. Technically, this is the only password you’ll have to create on your own.
After filling in all the required fields, you’ll be redirected to Bitwarden’s web application or Web Vault. Once there, Bitwarden will ask you to verify your email address. After verifying, you will then have an official Bitwarden account!
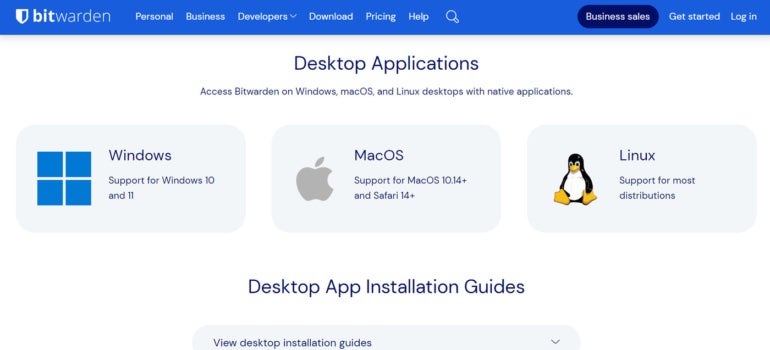
While Bitwarden’s web app is serviceable, downloading both the desktop application and browser extension will help you get the most out of the service. You can download the desktop app on their official website.

You should also download Bitwarden’s official browser extension. In this case, we’re using Bitwarden’s Chrome extension, which can be found on the Chrome Web Store

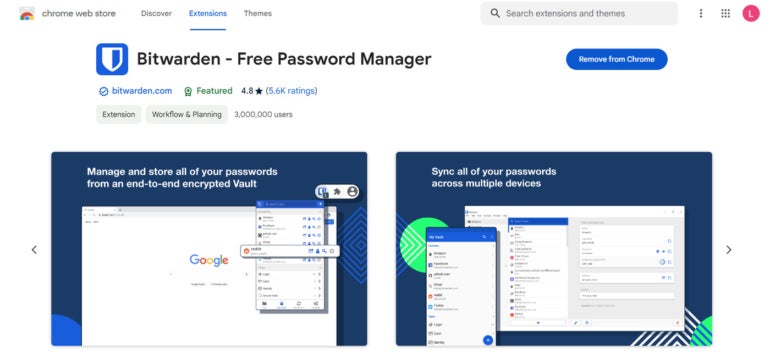
Upon installing both, you’ll be asked to input your login credentials and master password. Once you’re in, you can officially start using Bitwarden as your password manager. Here’s a look at Bitwarden’s desktop application

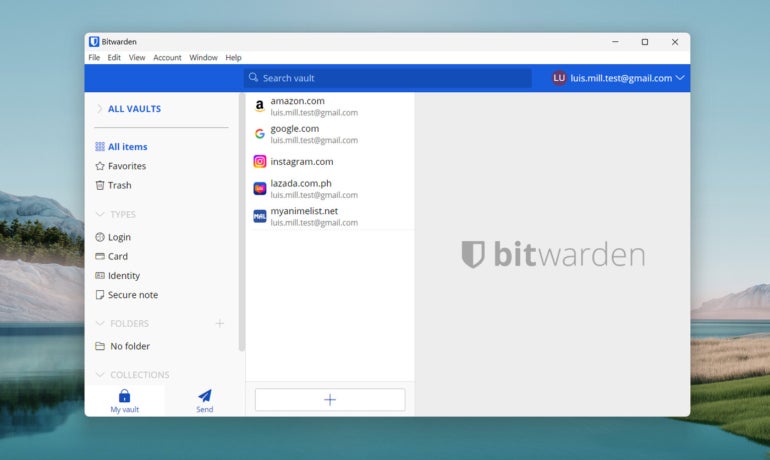
3. Using Bitwarden
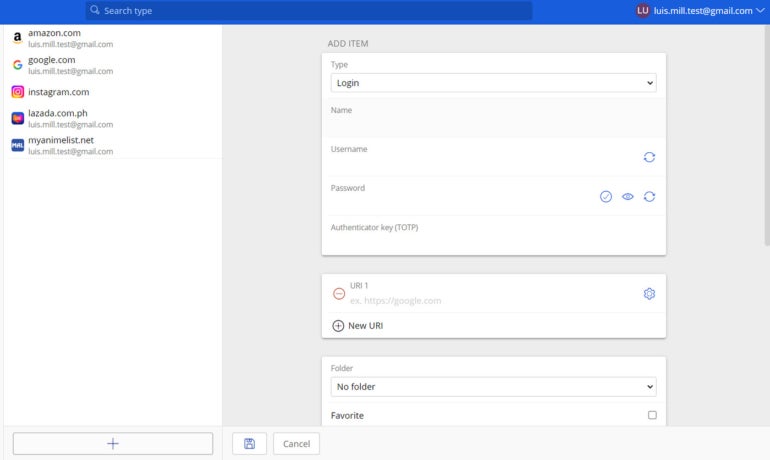
As a password manager, Bitwarden stores all your login information inside the encrypted vault. To add a login, just click on the + at the bottom of the dashboard and it will open a form where you can add a new login item.
The more traditional way to add logins is whenever you create a new account online. This is best done through Bitwarden’s browser extension as it offers you easier access to the service while on a particular site.
In this example, I’ll be making a new account on Udemy. When creating a new account, you can use Bitwarden to generate a random password that’s configured to parameters of your choosing. You can access this by clicking on the Generator tab at the bottom of the extension.

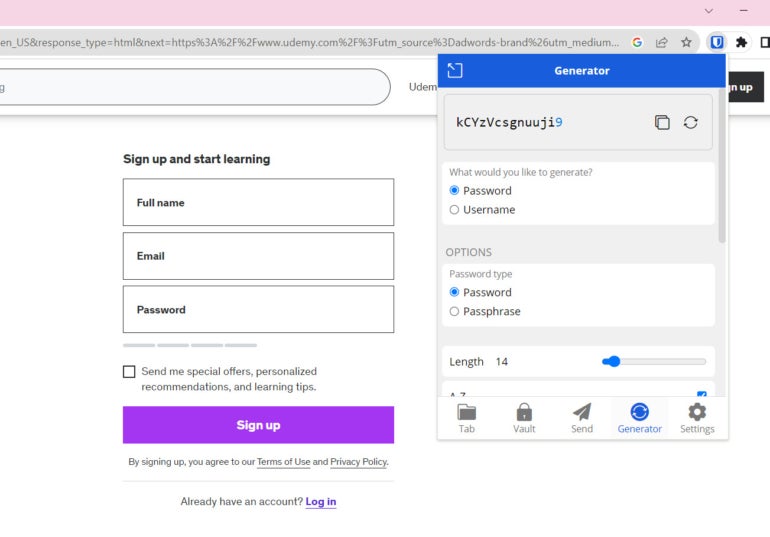
By default, Bitwarden generates a password of 14 characters, but it can be set to have up to 128. You can set it to be a random password with digits, uppercase and lowercase characters, and special symbols. You can also have it create passphrases instead — which some have said are more secure than a typical password.
Once you have your login credentials set, you can go to the Tab button and click Add a login to add the new Udemy account to your vault.

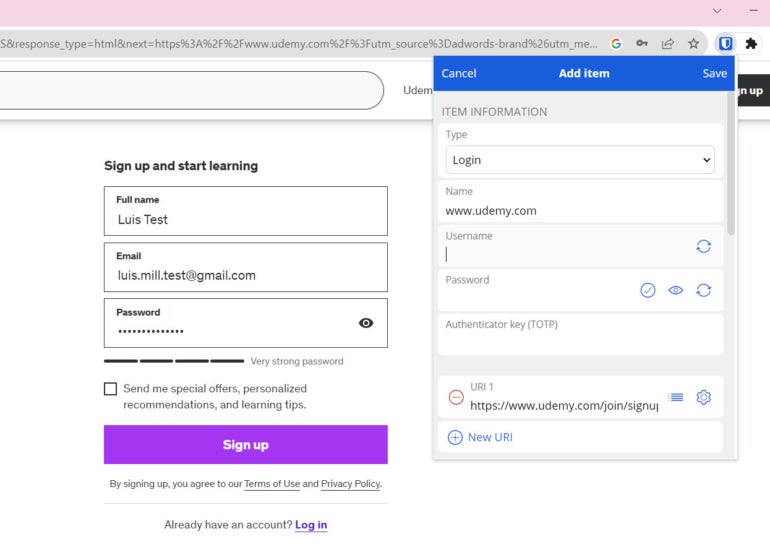
With this step, you’ve now stored your first password using Bitwarden! Now that you’ve learned how to store passwords using Bitwarden, the next step is to set up two-step authentication.
In Bitwarden, this is called a two-step login. This makes your Bitwarden account more secure by requiring you to verify your login with another device. This can be through an SMS code, email, an authenticator app, and others.
To set this up within Bitwarden’s desktop application, go to Account | Two-step login. It will then redirect you to Bitwarden’s web app and take you through the process.
If you have any issues using Bitwarden, you can visit the support page on its official website and send out a ticket. It also has a help center with an extensive collection of guides and articles regarding its service.
Bitwarden frequently asked questions (FAQs)
What is the difference between free and premium Bitwarden?
With Bitwarden’s free plan, you lose out on premium features such as an integrated authenticator (TOTP), emergency access, encrypted file attachments, and their full suite of security reports.
A premium Bitwarden account also grants you access to priority customer support and a few more two-factor authentication options. Despite these differences, Bitwarden Free still provides zero-knowledge encryption, support for unlimited devices, and unlimited password storage.
For a more in-depth guide on these differences, check out our full Bitwarden Free vs Premium feature.
How secure is Bitwarden free?
Bitwarden’s free version carries most of the essential security features found in its premium plan. Its free plan implements the same zero-knowledge encryption found on its paid tier — ensuring that only the end-user has access to their data and that Bitwarden is never able to see user passwords. The Bitwarden platform has also been independently audited numerous times, with third-party assessments on various aspects of its service going back as far as 2018.
On top of this, Bitwarden is open-source, making its source code publicly available for review. This allows community users and security experts to spot vulnerabilities in the codebase, if there are any, themselves.
As of January 2025, there have been zero reports of any breach or data leak involving Bitwarden or its free version.
What operating systems does Bitwarden support?
For desktop, Bitwarden supports Windows, macOS, and Linux. You also get support for the command-line interface on these same platforms. On the mobile side of things, Bitwarden has official apps for both iOS and Android.
In terms of browser extensions, Bitwarden supports Chrome, Edge, Firefox, Safari, Opera, Brave, Vivaldi, Tor, and DuckDuckGo.
Does Bitwarden automatically fill in passwords?
Yes, Bitwarden has a one-click, inline autofill feature which automatically inputs saved credentials for items like usernames and passwords.
Whenever Bitwarden detects a form field that could potentially be filled in with a saved item from your vault, a Bitwarden logo will pop up within that field. Clicking this and selecting the saved credential will automatically fill in the item in that form field.
This can be used to autofill passwords, full logins, passkeys, credit cards, and saved identities.
What we think of Bitwarden
In our full review, Bitwarden received a rating of 4.6 out of 5 stars. I highlighted its generous free version, affordable paid plans, and open-source architecture as offerings that help it stand out from the pack.
It also employs zero-knowledge encryption and comes with a clean security track record as a longtime provider in the password space. While it doesn’t have the most intuitive desktop interface, it’s one of our favorite password managers available today.
If you want to learn more, read our full Bitwarden Review.
This article was originally published in November 2023. It was updated by the same author in January 2025.